

Puede haber ocasiones en las que unBot![]() Una aplicación de software que maneja las interacciones del cliente en lugar de un agente humano en vivo. responde más lentamente debido a problemas de red u otros factores. Una red de seguridad evita que la lentitud de cualquier bot tenga un impacto negativo en suSLA
Una aplicación de software que maneja las interacciones del cliente en lugar de un agente humano en vivo. responde más lentamente debido a problemas de red u otros factores. Una red de seguridad evita que la lentitud de cualquier bot tenga un impacto negativo en suSLA![]() Compromiso entre proveedor de servicios y cliente con un umbral de nivel de servicio definido, que incluye calidad, disponibilidad y responsabilidades. o su experiencia como cliente. Las redes de seguridad utilizan Digital Experience automatización del flujo de trabajo.
Compromiso entre proveedor de servicios y cliente con un umbral de nivel de servicio definido, que incluye calidad, disponibilidad y responsabilidades. o su experiencia como cliente. Las redes de seguridad utilizan Digital Experience automatización del flujo de trabajo.
Siga las tareas de esta página para crear una red de seguridad que:
- Espera 30 segundos para que el bot responda a un cliente.mensaje
 Cualquier cosa que diga un contacto en una interacción de bot, ya sea una pregunta o declaración, escrita o hablada..
 - Si no se recibe ningún mensaje, envía al cliente una respuesta de que está siendo enrutado a un agente y redirige la interacción a un agente en vivo.cola Un equivalente Digital Experience de una habilidad; enruta cada contacto a un agente asignado para manejar ese tipo de contacto..
- Etiqueta la interacción para que pueda encontrarla fácilmente en el futuro y solucionar cualquier causa raíz del retraso del bot.
Éste es un ejemplo de cómo crear una red de seguridad. Es posible que su organización desee utilizar otras digital opciones de automatización del flujo de trabajo para diseñar una red de seguridad única. Independientemente de las opciones que utilice, el proceso de configuración de una red de seguridad seguirá el proceso general que se describe en esta página. La ayuda en línea de automatización del flujo de trabajo puede ayudarle a conocer más sobre las opciones disponibles.
Complete cada una de estas tareas en el orden dado.
Crear un disparador
- Haga clic en el selector de aplicaciones
 y seleccioneACD.
 -
Vaya a Digital Experience >Disparadores de automatización.
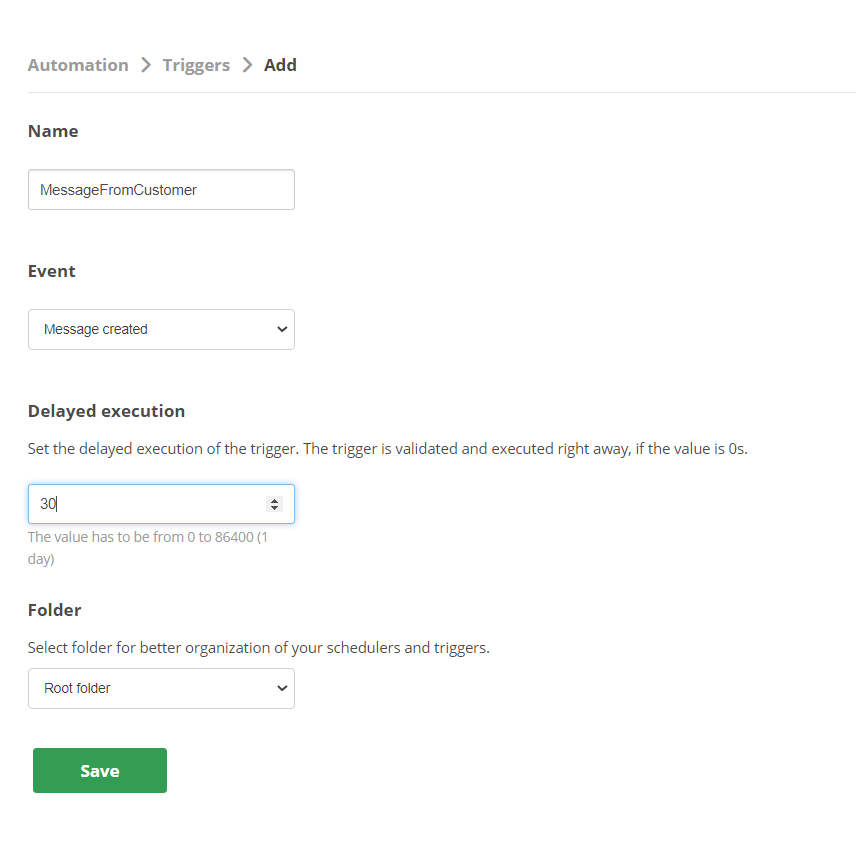
- Haga clic en Agregar activador.
- Ingrese un valor en elNombre campo. El valor que se muestra en la imagen anterior esMessageFromCustomer pero puede usar algo diferente si lo desea.
- ParaEvento, SeleccioneMensaje creado desde el menú desplegable.
- ParaEjecución retrasada, ingresar30. Este es el número de segundos desde la recepción del mensaje del cliente hasta que se activa la red de seguridad.
- Si organiza sus desencadenantes porCarpeta, seleccione uno del menú desplegable. De lo contrario, el desencadenante se guarda en la carpeta raíz de desencadenadores.
- Hacer clic en Guardar.
Crear condiciones
- Haga clic en el selector de aplicaciones y seleccioneACD.
-
IrDigital Experience >Trabajos de automatización.
- Para el activador que acaba de crear, haga clic en Detalles.
- Haga clic en Agregar condición.
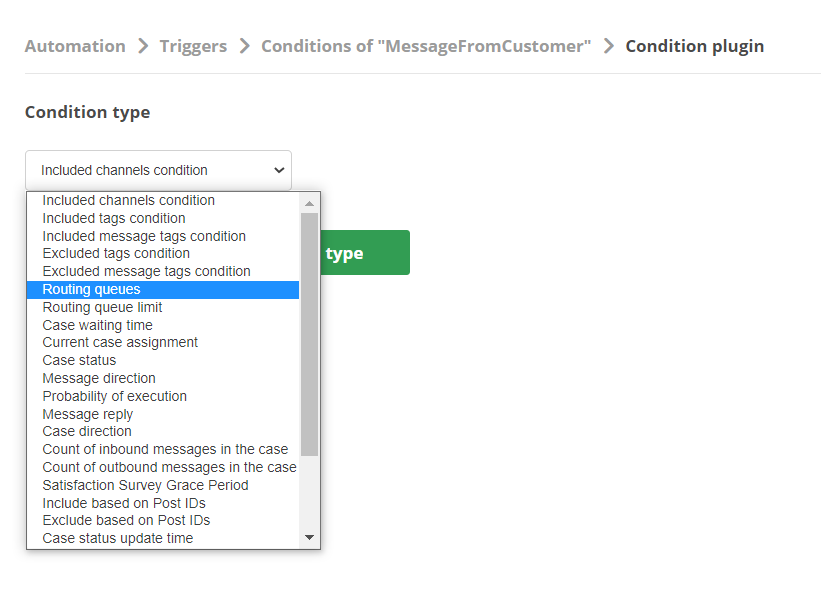
- Para Tipo de condición, seleccione Colas de enrutamiento en el menú desplegable y luego haga clic en Crear condición para el tipo seleccionado.
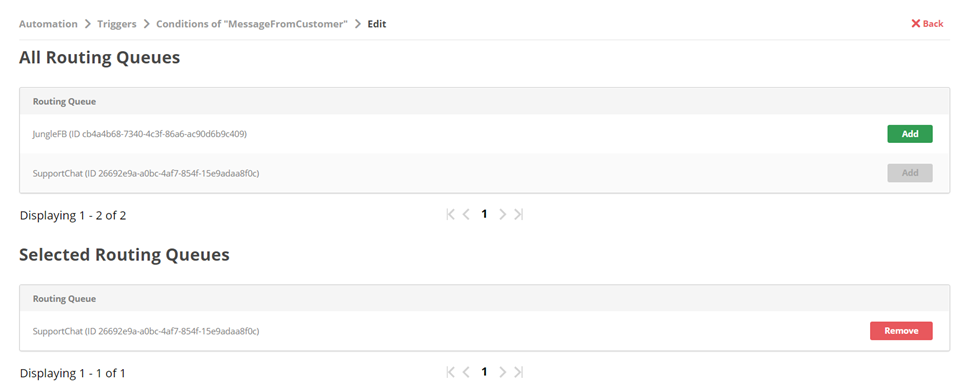
- En la lista de Todas las colas de enrutamiento, haga clic en Agregar para las colas Un equivalente Digital Experience de una habilidad; enruta cada contacto a un agente asignado para manejar ese tipo de contacto. a las que está asignado su bot Una aplicación de software que maneja las interacciones del cliente en lugar de un agente humano en vivo. .
- Encima del encabezado Todas las colas de enrutamiento, haga clic enDisparadores.
- Para el activador que acaba de crear, haga clic en Detalles.
- Haga clic en Agregar condición.
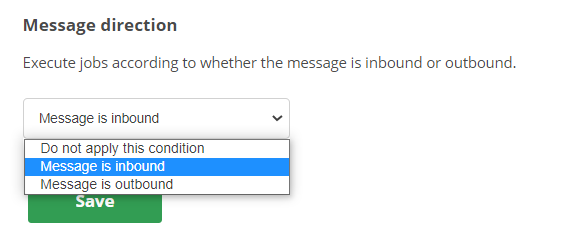
- ParaTipo de condición, SeleccioneDirección del mensaje en el menú desplegable y luego haga clic en Crear condición para el tipo seleccionado.
- En el menú desplegable, seleccione El mensaje es entrante.
- Hacer clic en Guardar.
Crear una condición retrasada
- En el portal Digital Experience, vaya a Configuración > Automatización > Disparadores.
- Para el disparador que acaba de crear, haga clic en Condiciones retrasadas.
- Hacer clicAgregar.
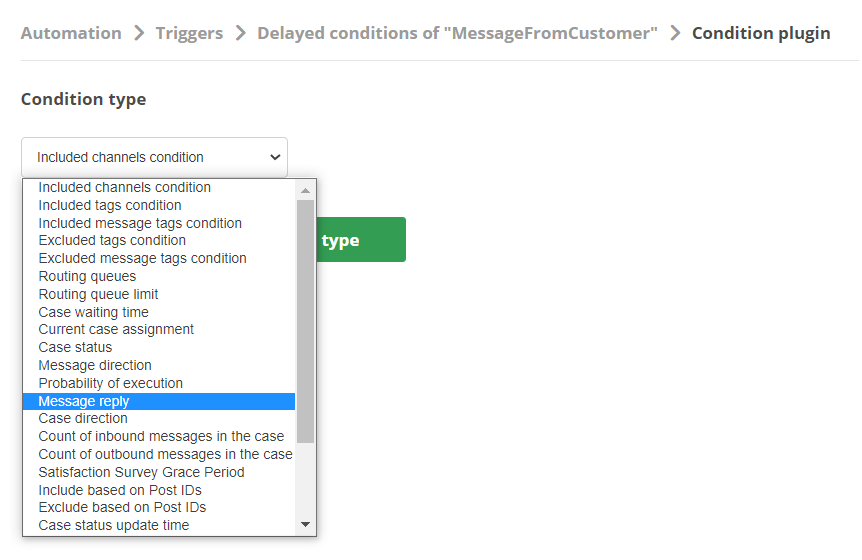
- Desde el desplegable Tipo de condición, seleccione Respuesta al mensaje y luego haga clic en Crear condición para el tipo seleccionado.
- En el menú desplegable, seleccioneEl mensaje no tiene respuesta.
- Hacer clic en Guardar.

Crear trabajo para enviar mensaje
- En el portal Digital Experience, vaya a Configuración > Automatización > Trabajos.
- Hacer clicAgregar.
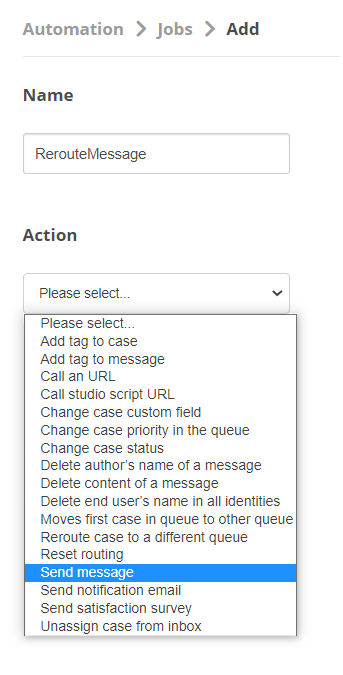
- Ingrese un valor en elNombre campo. El valor que se muestra aquí es Redirigir Mensaje pero puede usar algo diferente si lo desea.
- Desde elAcción desplegable, seleccioneEnviar mensaje.
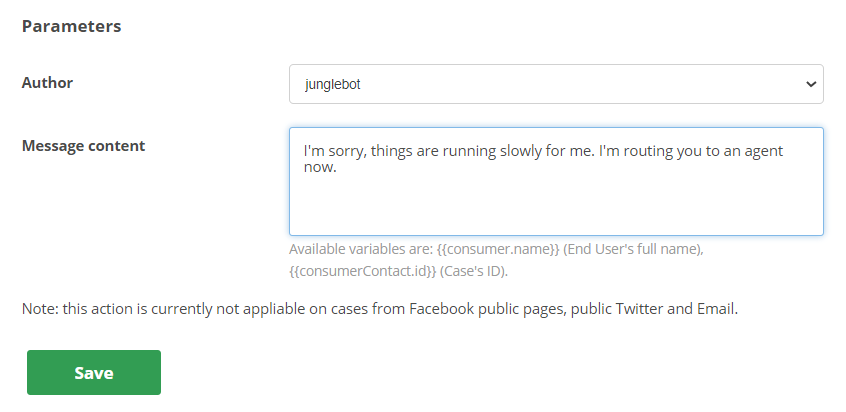
- Desde elAutor desplegable, seleccione de quién debe aparecer el mensaje. Puedes elegir tuBot Una aplicación de software que maneja las interacciones del cliente en lugar de un agente humano en vivo. o un agente real.
- Para el Contenido del mensaje, ingrese la respuesta que desea que el cliente reciba.
- Hacer clic en Guardar.
Crear trabajo para redirigir la interacción
- En el portal Digital Experience, vaya a Configuración > Automatización > Trabajos.
- Hacer clicAgregar.
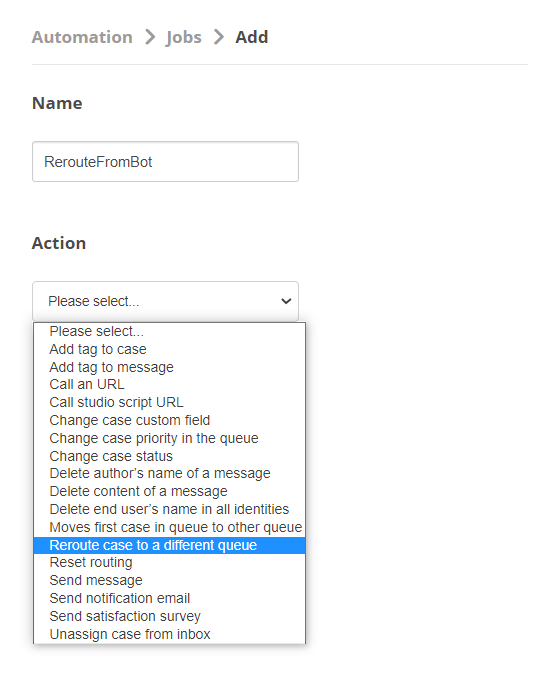
- Ingrese un valor en elNombre campo. El valor que se muestra aquí es RerouteFromBot pero puede usar algo diferente si lo desea.
- Desde elCola de enrutamiento desplegable, seleccione elcola Un equivalente Digital Experience de una habilidad; enruta cada contacto a un agente asignado para manejar ese tipo de contacto. para recibir la interacción redirigida.
- Hacer clic en Guardar.
Crear etiqueta para interacciones redirigidas

- Haga clic en el selector de aplicaciones y seleccioneACD.
- Vaya a DFO > Etiquetas.
- Haga clic en Añadir etiqueta.
- Ingrese un valor en elTítulo campo para nombrar su etiqueta. El valor que se muestra en la imagen anterior esRedireccionamiento de JungleBot.
- Desde elColor desplegable, seleccione un color para la etiqueta.
- Desde elActivo desplegable, seleccionesí.
- Hacer clic en Guardar.
Crear trabajo para etiquetar interacciones redirigidas
- En el portal Digital Experience, vaya a Configuración > Automatización > Trabajos.
- Hacer clicAgregar.
- Ingrese un valor en elNombre campo. El valor que se muestra aquí es TagReroutedInteractions pero puede usar algo diferente si lo desea.
- Desde elEtiqueta desplegable, seleccione la etiqueta que creó para este propósito.
- Hacer clic en Guardar.
