

Follow the steps on this page to create a taskbot for Copilot Task Assist. You can learn more about Task Assist from the Bot Builder perspective.
Your taskbot must meet these requirements:
|
Requirements |
Description |
|---|---|
|
Build tasks using flows, stories, or rules |
You can use flows, stories, or rules to build tasks for your taskbot. Follow the same guidelines as you would when working with a conversational bot:
|
| Add an intent for each task |
You need one intent for each task that your agents can request. The name of the intent is used in the Copilot configurations, so don't change the name of the intent after Copilot has been configured. Doing so will cause an error when an agent requests that task. You don't need to supply training examples for the intents as you do for a standard Bot Builder bot. This is because each intent is requested directly when the agent selects it. The taskbot does not need to learn when to use each intent in the context of a conversation. Do not assign taskbot intents to more than one flow, story, or rule. Doing so will cause an error when an agent requests that intent. |
|
Add a Bot Builder Script for each intent |
Taskbots use Bot Builder script integrations. Each Task Assist task must have its own script in Bot Builder. Scripts are created as scripting actions within a script integration. You can have one or more script integrations, each with one or more scripting actions. The number and organization of script integrations and scripts is up to you. The scripting action is where the majority of the instructions for executing the task should be made. You can use other bot actions The Scripts bot action has a time limit of 10 seconds. If your script takes longer than 10 seconds to execute, it will time out. To avoid this, consider creating two Scripts actions and adding them both to the task's story, rule, or flow. |
|
Use slots to store data |
Your taskbot receives the custom payload from Copilot into a single slot. Your Bot Builder script must parse the payload to pull out the information needed to complete the task. You also need individual slots in Bot Builder to store that data in. |
Create a Taskbot
You must create a new Bot Builder bot and connect it to Copilot for Agents in Agent Assist Hub.
-
In Bot Builder, create a new bot.
-
Build one or more tasks in your new taskbot.
-
Test each task in Bot Builder.
-
Enable Task Assist in Copilot for Agents.
-
Add each task to the Task Assist intent library.
Create and Configure a New Bot
Your taskbot should be a dedicated taskbot configuration in Bot Builder. You cannot use one bot configuration as both a chatbot and a taskbot.
A taskbot doesn't need ACD skills like a standard Bot Builder bot does. You also don't need to connect the taskbot to a CXone Mpower employee profile.
- Log in to CXone Mpower with your own account.
- Click the app selector
 and select Bot Builder.
 -
Click Create Bot.
-
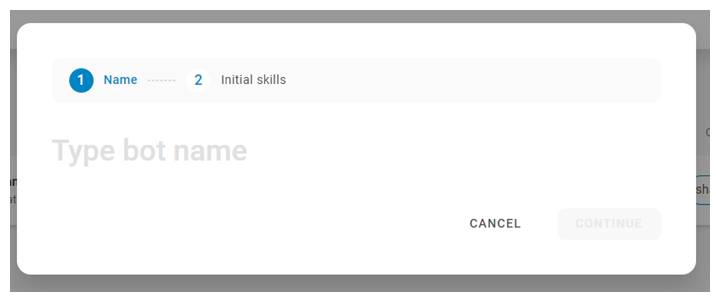
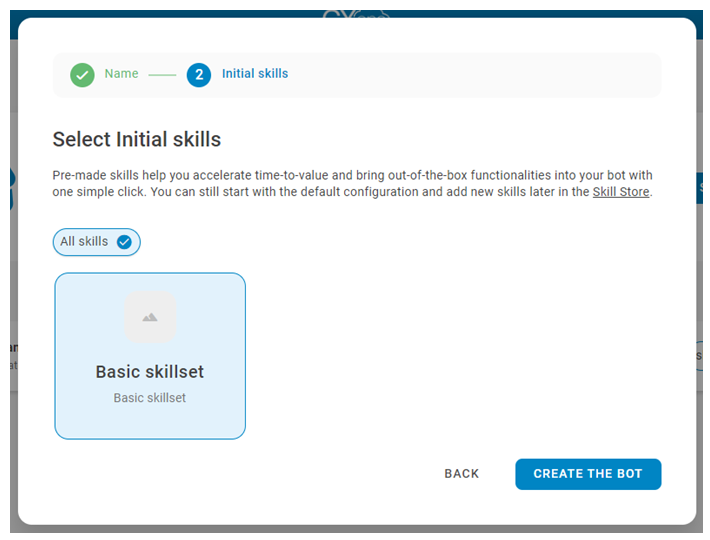
Enter a Name and click Continue.
-
- It may take several minutes for the setup to complete. You can wait or click Enter the bot to explore the Bot Builder interface while setup completes.
- Go to the NLU > Intents tab and the Dialogues > Rules tab and delete the rules or intents that were added from the default skills when you created the bot.
- Click Dialogues
 in the left icon menu.
 - Click Slots
 in the right icon menu and create a custom slot to hold the payload received from Copilot for Agents.
 - Click Preferences
 in the left icon menu.
 - On the Settings tab, click VAH Integration.
- Choose the custom slot you just created. Your change is saved automatically.
Build a Task
Create one or more tasks for your taskbot to complete. Follow these steps for every task.
-
Map out the steps that bot must follow to complete the task. Consider:
-
The third-party applications that the bot must connect to.
-
Any security protocols it must follow.
-
The data that must be retrieved or stored.
-
-
Collect the information you need to build the task, such as:
-
Connection details for APIs or web services you must connect to, including URLs, authentication tokens, and keys.
-
The exact fields in the third-party application that correspond to the data you're working with.
-
-
Map fields between the third-party application, Bot Builder slots, and Copilot for Agents responses. Create the mapping on paper or a document on your computer. You'll use this information in later steps of the process.
-
In Bot Builder, create custom slots. When creating slots:
- Give them meaningful names.
- You don't need unique slots for every third-party system you interact with. For example, if you have two tasks that use address information, you only need one set of slots to hold that information. However, if you have a task that pulls address information from two systems to compare, you would need one set of address information slots for each system.
- You don't need to enable the Influence dialogue option unless you plan to use slot conditions in the task.
-
In Bot Builder, create an intent for the task. Give it a name that matches the name of the task as agents will see it in the agent application. You don't need to add examples to the intent.
-
In Bot Builder, set up a script for this task. You can create a new script integration or create a script action within an existing integration.
-
Create a story, rule, or flow for the intent:
-
Start the story, rule, or flow with a contact message that describes the task such as "I want to change my address." The taskbot may not be able to predict the correct intent for the contact message because the intent doesn't have enough examples. This is okay, because the taskbot isn't expected to work like a standard chatbot.
-
If the taskbot does not correctly identify the intent, select it from the list of intents and click Confirm.
-
Add one or more bot actions as needed to define each step the taskbot must follow to complete the task. Configure each bot action
 What the bot can do on its turn in the conversation, such as send a message or fill a slot. appropriately.
 -
To add your script action to the bot, add the Scripts bot action to your story or rule, or to your flow.
-
-
When you're finished making changes, click Train and Stage to update your bot model
Version of a bot that has been trained and staged to test this change.
Enable the Taskbot in Virtual Agent Hub
Once you create your Bot Builder, you need to enable it in the Virtual Agent Hub.
-
Go to the Virtual Agent Hub.
-
Click Add Bot.
-
Enter a Virtual Agent/Bot Name.
-
Select Bot Builder and click Next.
Use the information in the following table when completing the Configuration page. You see this page when adding an app in Virtual Agent Hub
Learn more about fields in this step
Field
Details
Integration Version Select the version of Virtual Agent Hub that you want to use. This option allows you to use a previous version of Virtual Agent Hub until you're ready to switch to a newly-released version. The available versions are:
- Version 1.0.0:
- Version 2.0.0:
- Version 3.0.0: This version introduced StandardBot, which standardizes how CXone Mpower communicates with virtual agent providers. The object returns as an array, as . This version is available for all providers.
Bot Name Select the bot to configure in Virtual Agent Hub. Authentication Token Paste the authentication token copied from the Settings page in Bot Builder. Ensure that you copy the token from the same bot you selected in Bot Name. DTMF Breakout Pattern Enter the DTMF
Signaling tones that are generated when a contact presses a key on the telephone keypad. characters that, when pressed during a call, cause the script to take the DTMFBreakout branch of the VOICEBOT EXCHANGE action.
This field is optional.
External Provider Timeout Enter the number of seconds you want the script to wait for a response from Bot Builder. When the timeout is reached, control returns to the script, which takes the error branch.
- Version 1.0.0:
-
Click Next.
-
On the Voice page, set Text Only and click Next.
-
On the Transcript page, select the option for whether you want transcript or intent information saved from conversations with this virtual agent. If you save this information, custom scripting is required to complete the setup of the feature.
Learn more about fields in this step
Option Details Intent information only Select this option if you want to want to capture intent information only. Captured data is stored only for the duration of the interaction by default.
This option requires custom scripting.
Nothing Select this option if you don't want to capture conversation transcriptions or intent The meaning or purpose behind what a contact says/types; what the contact wants to communicate or accomplish. information. Transcript and intent information Select this option if you want to capture both transcript and intent data. Captured data is only stored for the duration of the interaction by default.
This option requires custom scripting.
Transcript only Select this option if you want to capture transcript information only. Captured data is stored only for the duration of the interaction by default. This option requires custom scripting.
-
Click Test and Add.
Test your taskbot by doing the following:
-
Click the three dots and select Add Custom Payload JSON. Enter the custom payload for the task. Enter the variables (the ones you defined in the script block in Bot Builder) and set some values to test. This mimics what will be sent from the Copilot for Agents to the bot.
-
To start testing, select Trigger Custom Intent Event. Enter the event name. The name should match the Intent name in Bot Builder.
-
Obtain Token from Bot Builder
Each taskbot has a token that you need when enabling it in Virtual Agent Hub.
- In CXone Mpower, click the app selector and select Bot Builder.
- Click the bot you want to work with.
- Click Preferences in the left icon menu.
-
On the Settings tab, click VAH Integration.
-
Click copy
 in VAH Authentication Token. The copy icon appears when you hover over this field.
 -
Paste the token into the Authentication Token field when adding an app for Bot Builder in Virtual Agent Hub.