There may be times when a bot![]() A software application that handles customer interactions in place of a live human agent. responds more slowly due to network issues or other factors. A safety net prevents any bot slowness from having a negative impact on your SLA
A software application that handles customer interactions in place of a live human agent. responds more slowly due to network issues or other factors. A safety net prevents any bot slowness from having a negative impact on your SLA![]() Commitment between service provider and customer with defined service level thresholds including quality, availability, and responsibilities. or your customer experience. Safety nets use Digital Experience (DX) workflow automation.
Commitment between service provider and customer with defined service level thresholds including quality, availability, and responsibilities. or your customer experience. Safety nets use Digital Experience (DX) workflow automation.
Follow the tasks on this page to create a safety net that:
- Waits 30 seconds for the bot to respond to a customer message
 Anything a contact says in a bot interaction, whether question or statement, written or spoken..
 - If no message is received, sends the customer a response that they are being routed to an agent and reroutes the interaction to a live agent queue Digital Experience (DX) equivalent of a skill; routes each contact to an agent assigned to handle that type of contact..
- Tags the interaction so you can easily find it in the future and troubleshoot any root causes for the bot delay.
This is one example of how to create safety net. Your organization may want to use other digital workflow automation options to design a unique safety net. No matter which options you use, the process of setting up a safety net will follow the general process described on this page. The workflow automation online help can help you learn more about the options that are available.
Complete each of these tasks in the order given.
Create a Trigger
- Click the app selector
 and select ACD.
 -
Go to Digital Experience (DX) > Automation Triggers.
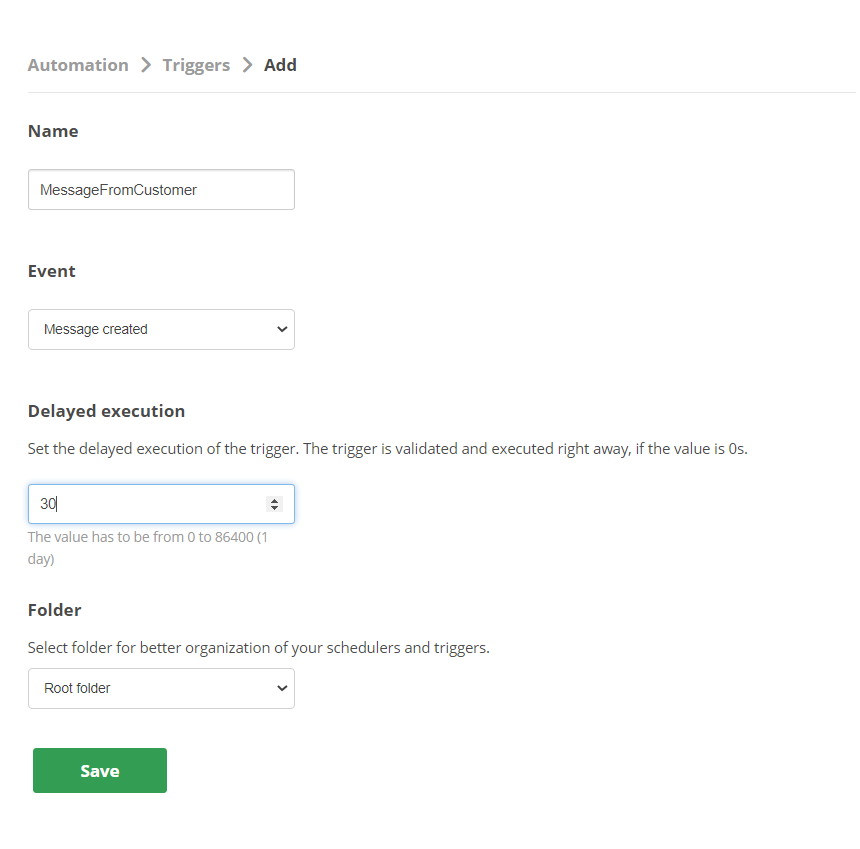
- Click Add Trigger.
- Enter a value in the Name field. The value shown in the preceding image is MessageFromCustomer but you can use something different if you like.
- For Event, select Message created from the drop-down.
- For Delayed Execution, enter 30. This is the number of seconds from the receipt of the customer message until the safety net is triggered.
- If you organize your triggers by Folder, select one from the drop-down. Otherwise, the trigger is saved to the root triggers folder.
- Click Save.
Create Conditions
- Click the app selector and select ACD.
-
Go to Digital Experience (DX) > Automation Jobs.
- For the trigger you just created, click Detail.
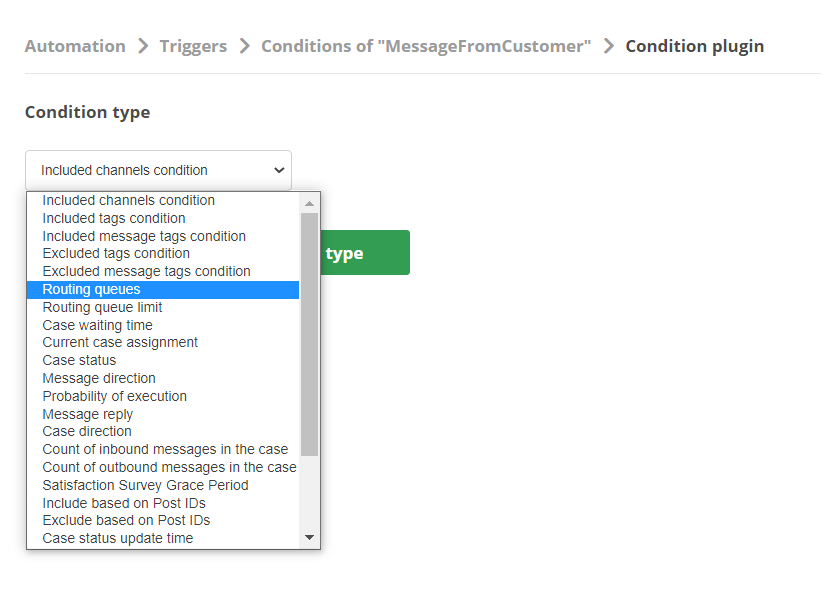
- Click Add Condition.
- For Condition Type, select Routing queues from the drop-down and then click Create condition for selected type.
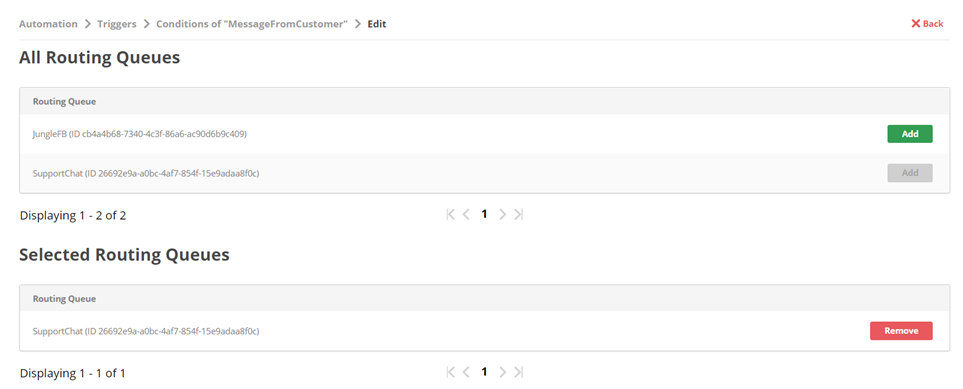
- From the list of All Routing Queues, click Add for the queues Digital Experience (DX) equivalent of a skill; routes each contact to an agent assigned to handle that type of contact. your bot A software application that handles customer interactions in place of a live human agent. is assigned to.
- Above the All Routing Queues heading, click Triggers.
- For the trigger you just created, click Detail.
- Click Add Condition.
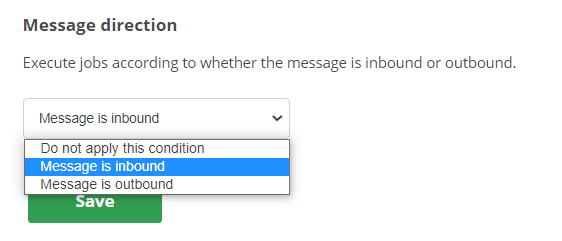
- For Condition Type, select Message direction from the drop-down and then click Create condition for selected type.
- From the drop-down, select Message is inbound.
- Click Save.
Create a Delayed Condition
- In the Digital Experience (DX) portal, go to Settings > Automation > Triggers.
- For the trigger you just created, click Delayed Conditions.
- Click Add.
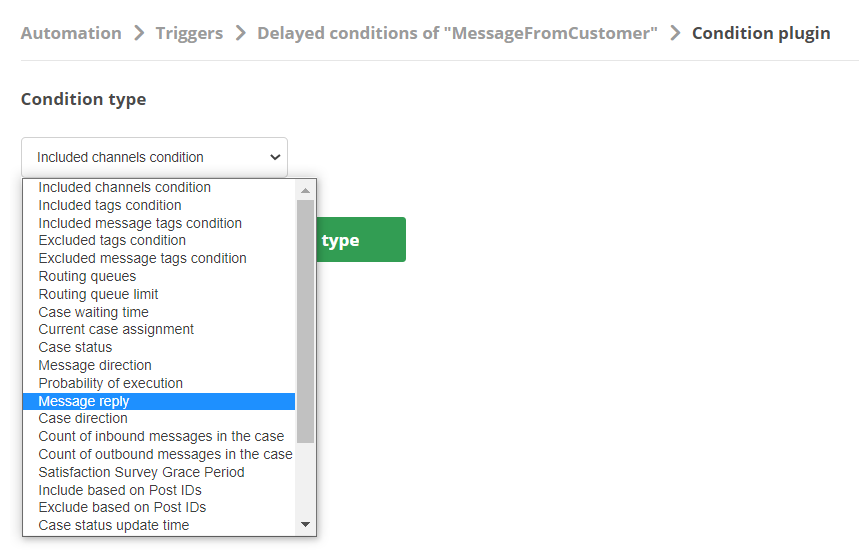
- From the Condition type drop-down, select Message Reply and then click Create condition for selected type..
- From the drop-down, select The message doesn't have a reply.
- Click Save.

Create Job to Send Message
- In the Digital Experience (DX) portal, go to Settings > Automation > Jobs.
- Click Add.
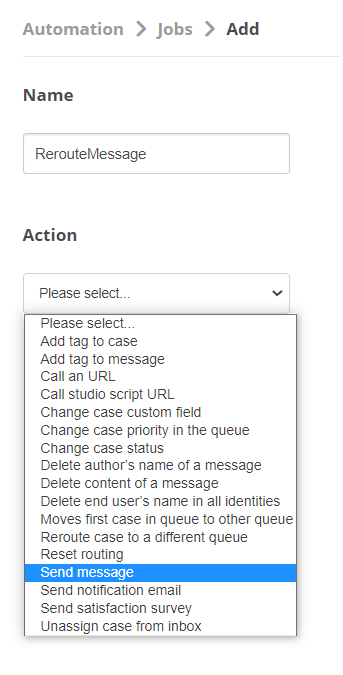
- Enter a value in the Name field. The value shown here is RerouteMessage but you can use something different if you like.
- From the Action drop-down, select Send message.
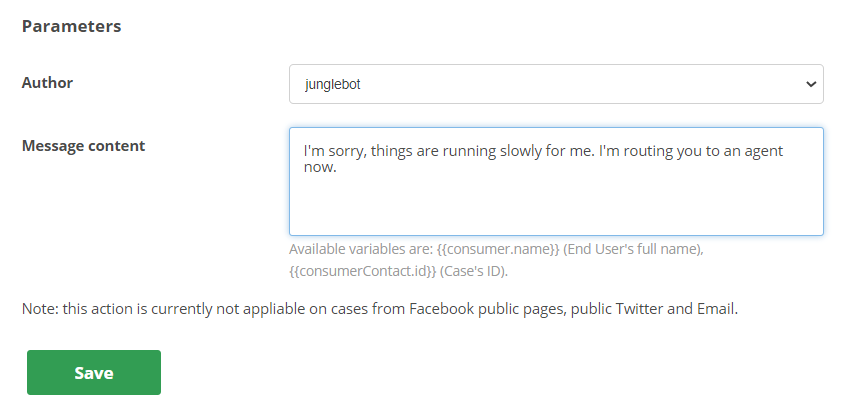
- From the Author drop-down, select who the message should appear to be from. You can choose your bot A software application that handles customer interactions in place of a live human agent. or a real agent.
- For Message content, enter the response you want the customer to receive.
- Click Save.
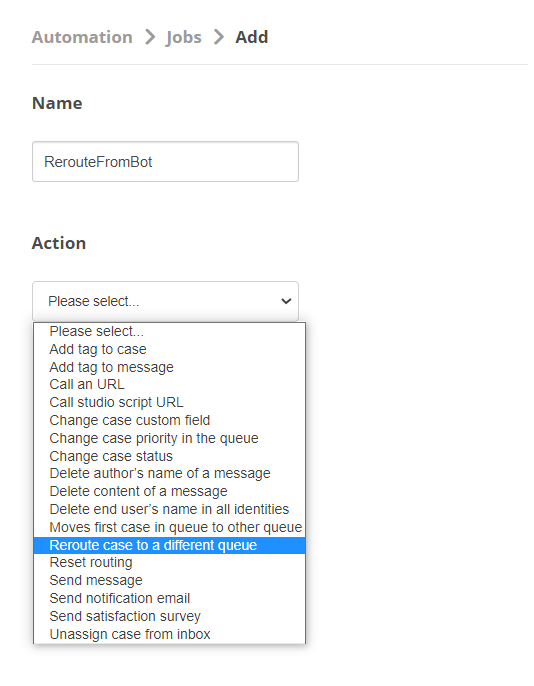
Create Job to Reroute Interaction
- In the Digital Experience (DX) portal, go to Settings > Automation > Jobs.
- Click Add.
- Enter a value in the Name field. The value shown here is RerouteFromBot but you can use something different if you like.
- From the Routing queue drop-down, select the queue Digital Experience (DX) equivalent of a skill; routes each contact to an agent assigned to handle that type of contact. to receive the rerouted interaction.
- Click Save.
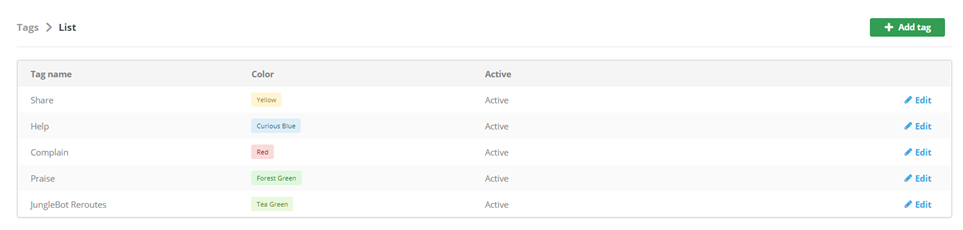
Create Tag for Rerouted Interactions
- Click the app selector and select ACD.
- Go to DFO > Tags.
- Click Add Tag.
- Enter a value in the Title field to name your tag. The value shown in the preceding image is JungleBot Reroutes.
- From the Color drop-down, select a color for the tag.
- From the Active drop-down, select Yes.
- Click Save.
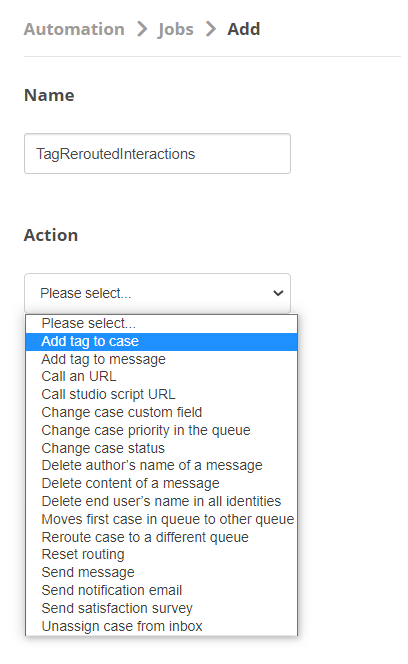
Create Job to Tag Rerouted Interactions
- In the Digital Experience (DX) portal, go to Settings > Automation > Jobs.
- Click Add.
- Enter a value in the Name field. The value shown here is TagReroutedInteractions but you can use something different if you like.
- From the Tag drop-down, select the tag that you created for this purpose.
- Click Save.